
How we installed the new patio:
Step 1) Call 811 so you don't accidentally cut of your cable or kill yourself (luckily only one happened, and it wasn't our fault because Comcast should have buried the cable 6" instead of 1")


 |
| The chairs the dog ate. |
Step 4) Dig small trench along the back edge for the edging (black stuff). Again, call 811 and don't cut off your cable/internet.
Step 5) Level out dirt, and compact it by walking over it and spraying with water. Leave overnight to dry.

Step 6) Lay your liner out. If you're putting in any pavers, put down paver sand & lay out your pavers. Fill cracks with sand, too. (Sand will compact with water, so watering during installation is ideal.)

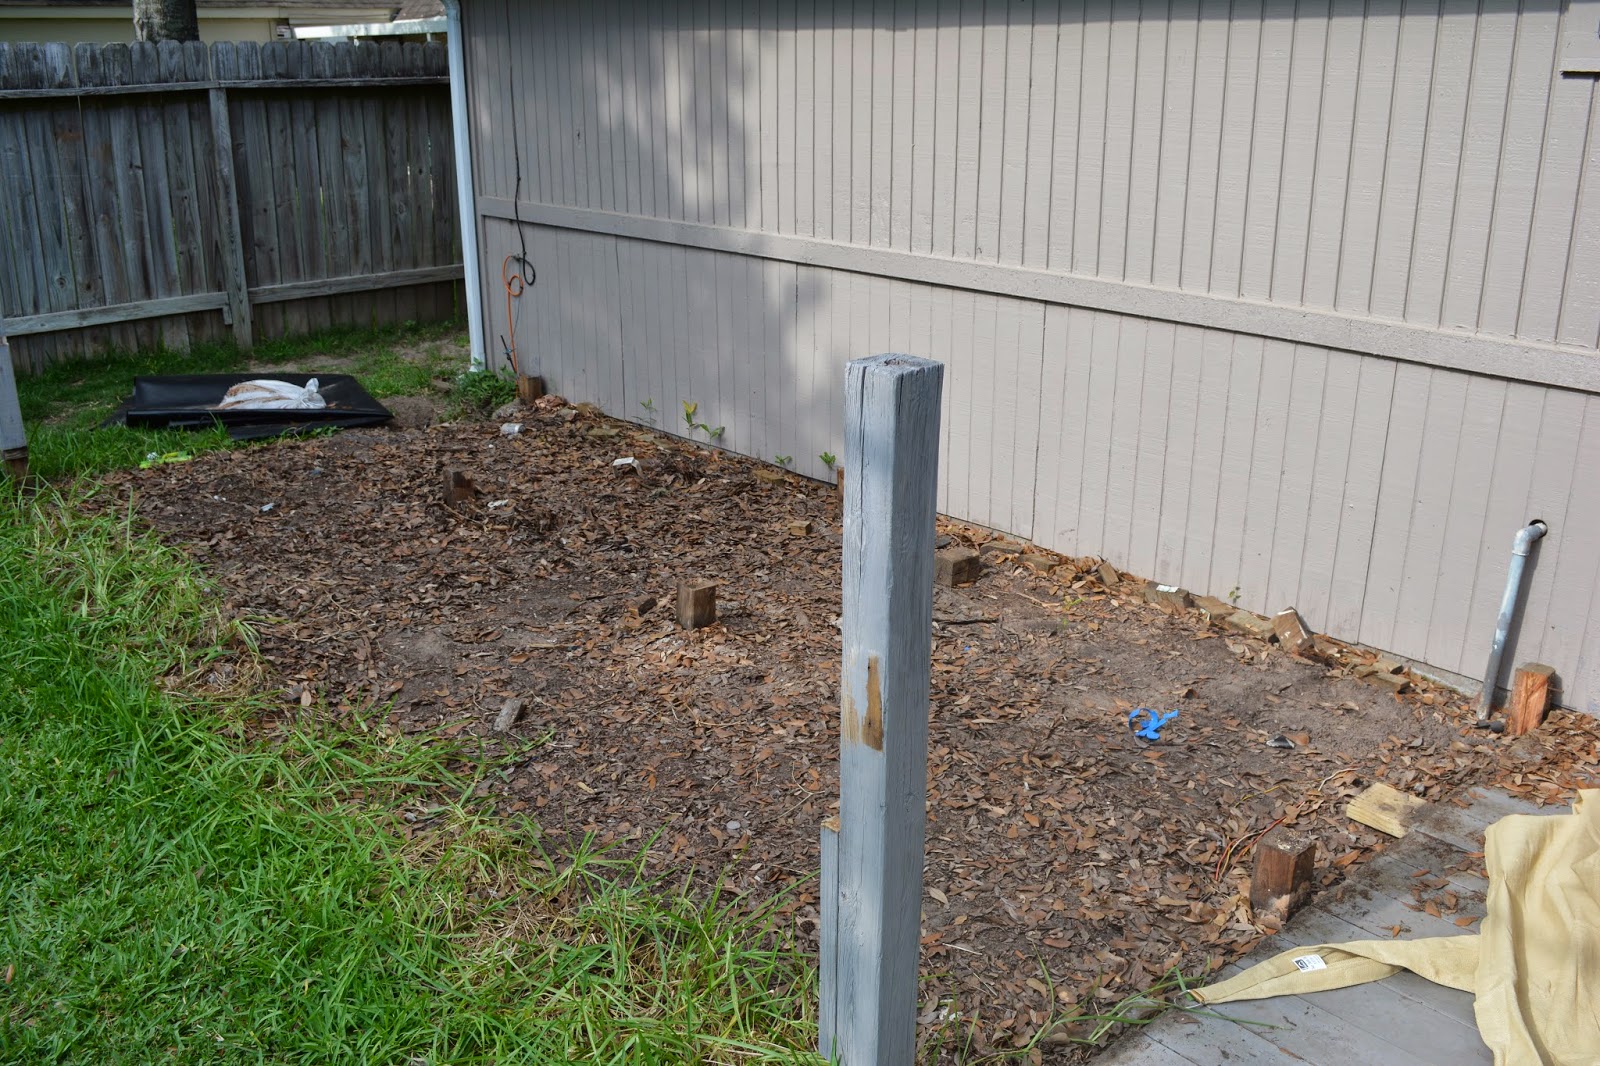
Step 7)


Step 8) Person One (A) uses wheelbarrow to bring over granite; Person Two (E) levels it with a hoe or rake, and then uses a tamper to stamp it down. Fill entire area.
Step 9) Repeat. Once you do this twice, fill in the areas that seem low, especially toward the house. Water it down and let it dry so it compacts.
Step 10) Wait one day, then water it again, looking for puddles that indicate low spots. Fill it in there, too.
Step 11) Let dry. Then decorate & ENJOY! (Even when it's wet from a torrential downpour and you wish it wasn't so mushy...)


 |
| The yard is almost totally cleaned up! |

We also added a little garden area in the back in an attempt to hid the utility area. we think it's cute.
 |
| Placement. Red Sisters, Daylillies, and later, Begonias. That is about twice as much mulch as I needed... |
 |
| Planted! We later had to move the Red Sister & Begonias. I thought this area got less sunlight than it did... I'm trying to save them, and have transplanted them to the front yard. |
 |
| New plants. Red sisters and Begonias now live happily in our shady front yard. |
Loving our new little oasis! It is so nice to get to sit outside and enjoy it after over a year (almost year and a half) of avoiding a nasty, overgrown backyard!
Next up: MASTER BATHROOM REMODEL! We are in the process of finalizing our quote and sourcing products, so get ready, because in mid-August, we'll have a GORGEOUS new bathroom, just in time for Ethan's First Birthday Party! We're thinking herringbone wood tile, bronze accents, no tub, walk-in shower, moved toilet, adding a second sink... it's going to be a BIG deal, y'all! To see some of our ideas, visit my master bathroom Pinterest page.
Next up: MASTER BATHROOM REMODEL! We are in the process of finalizing our quote and sourcing products, so get ready, because in mid-August, we'll have a GORGEOUS new bathroom, just in time for Ethan's First Birthday Party! We're thinking herringbone wood tile, bronze accents, no tub, walk-in shower, moved toilet, adding a second sink... it's going to be a BIG deal, y'all! To see some of our ideas, visit my master bathroom Pinterest page.
xo,

No comments:
Post a Comment