Friday, June 27, 2014

mini home updates

Sometimes we have these projects waiting in the wings that just "eventually" need to get done, (I prefer "immediately", Austin prefers "maybe, sometime, who knows"). Below are a couple of Liz-only projects. (The back yard was a primarily-Austin project.)

1) Pantry.
Our pantry is impractical. You cant see everything in it. It's the biggest we've had to date, and we've filled it with junk because we couldn't see what was in it. My solution? Shelving in our laundry-mudroom (now laundry-mudroom-pantry!).  I can see everything! I bought the shelving unit and had it all sorted and assembled within an hour. I can't wait to actually cook all this food that we couldn't tell we had before! This shelving unit came from Lowe's. I used a $10 off of $50 coupon on it, too.

Top shelf: lunch food, bags
Shelf 4: spices and dinner food items (beans, pasta, rice)
Shelf 3: way too many jars of honey, breakfast items
Shelf 2: baking supplies (I don't know how we got so many)
Bottom shelf: dog food (tub), water bottles, gatorade
2) My desk.
We decided I didn't need a formal office since I'm not working at home anymore. I was using this desk during the five months I was working form home, and I love it. We based all our new living room furniture off this $80 Target find. It has no drawers, but we all know I like to keep things simple, so I'm not bothered by it. Anyway, I finally got it staged and decorated the way I want it to look! We're going to move that bookshelf to the man cave (maybe? If the man cave ever gets cleaned up enough??). The chair is also from Target, but unfortunately, you can only purchase it in-store. I think it was somewhere around $60-80. The wood legs match the desk better in real life. So does the frame of the chalkboard. ("True Colors" just started playing in my head..)

I love my little chalkboard! $20 on Amazon.com

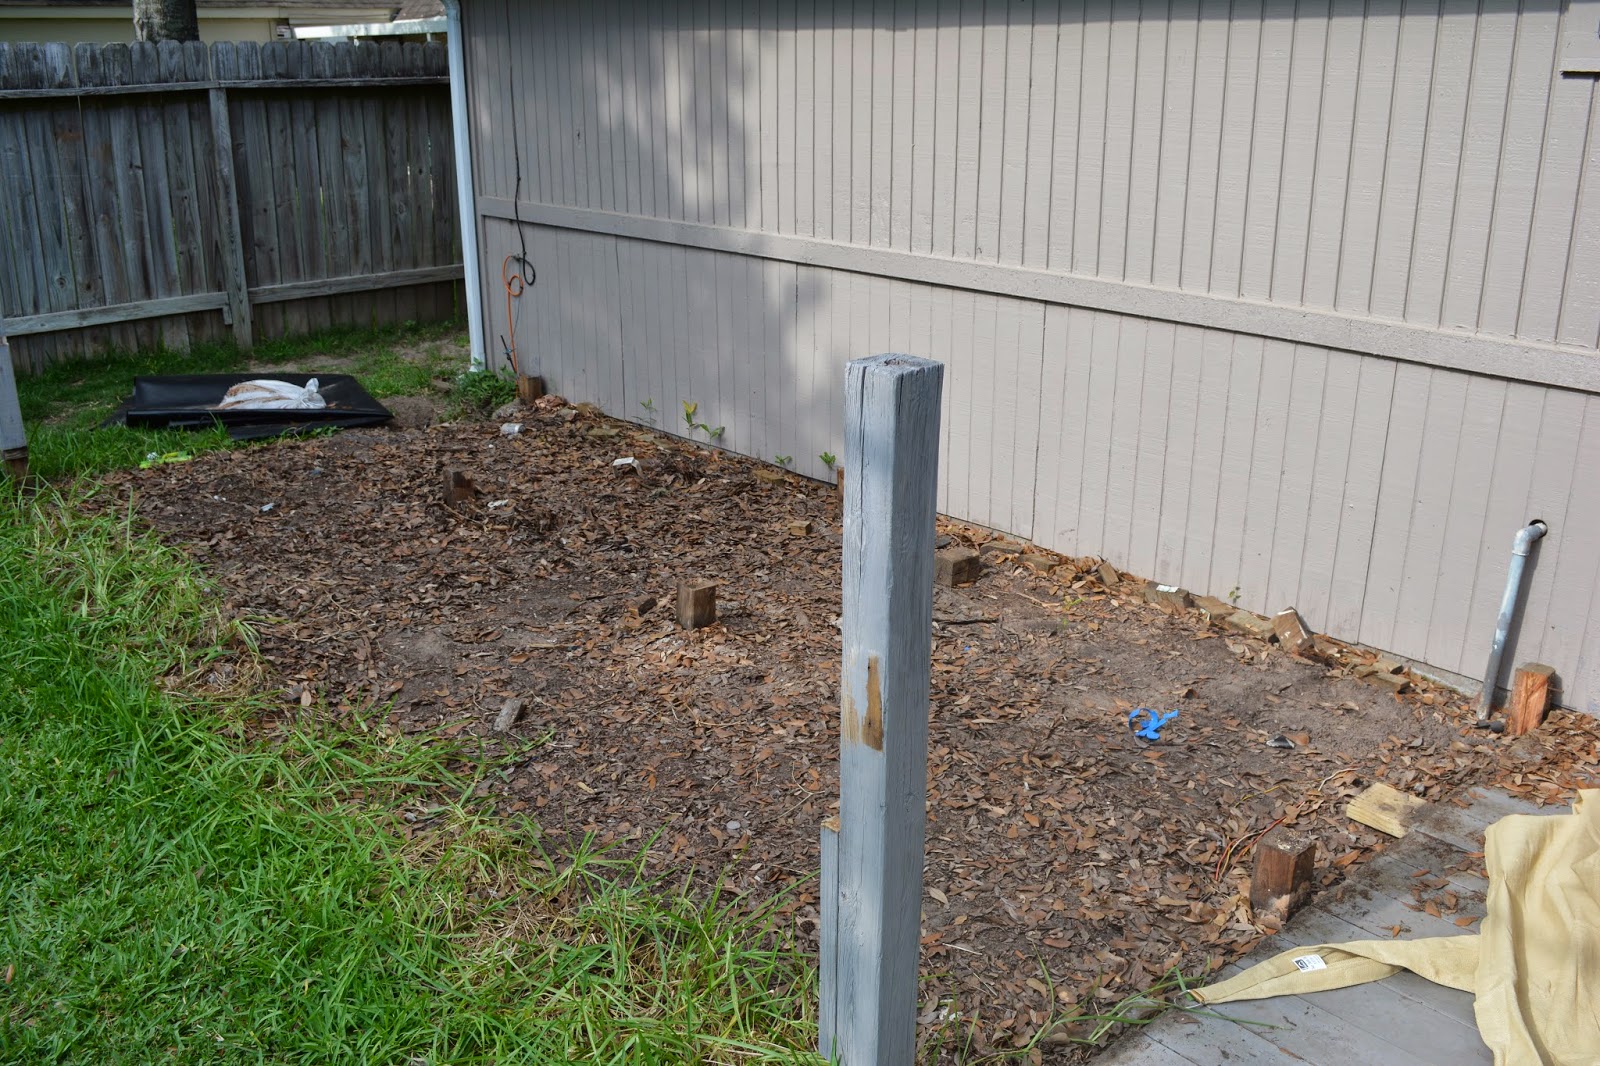
Next down the pike: fixing our gate (thanks to our escape-artist dog), tightening up the railing in the front, and, of course, the bathroom remodel!

xo,


Wednesday, June 25, 2014

ethan's favorite toys - nine months old

I seriously thought I'd get around to posting my 'best toys' posts more often.... whoops!


The below toys are listed in order of the age that they could be used by, youngest to oldest, and not by what is his favorite. (Right now, the VTech walker is by far his favorite!) Great news: They're ALL under $30!

Play mat. I got mine at Garden Center for $13, you can get
them online from $15. Ethan LOVES peeling up the sides
and chewing them. Before he could do that, it was a soft
place to play. Great for wood floors or keeping dog hair off
your kid #dogownerproblems

I've posted this before, but we invested in Wubba #2,
which will set you back $13.
They're easy to grab, and Ethan's Wubbas are his best
toys at any age. I wish we had them from birth!
Having two means you can wash it. 

This can attach to his food tray, which is
great when he needs something to do and
you still need to eat your dinner. Spin it a
couple times and relax while he plays. $8.

This gumball machine got me in the checkout line at
Babies R Us. It's $15, sings in English and Spanish,
is interactive, and, let's face it, those balls are great
for teething babies.

This IS our high chair. We use it for meals and play time
if Ethan is fussy and we need to get something done.
$25, and there's a coupon on Amazon this week, too.

I got these on sale last Christmas. They're
meant for babies 12 months and up, but he can't
choke on the pieces (nothing small) so I let him
play with them. Another great toy for teethers. $15

We just got this baby. It does SO much, and, let's
face it, he stays put when he plays with this.
We don't quite have the walker part down, but the
party is definitely in the front. $28.

*All links go to Amazon, which I am not paid for. Most of these toys can also be purchased at Walmart, Target, Babies R Us, and Buy Buy Baby. I've linked to Amazon Smile because a portion of your purchase can be donated to a non-profit 501c(3) - like Little Changes International - if you use this site and select a charity.

I hope some/any of these toys help you keep your little one entertained!

xo,

Tuesday, June 24, 2014

nine months old!

Ethan has been out about as long as he was in (finally!). We can't believe how much faster the last 9 months have gone by compared to the first 9 months!

with cousin Jack, the day we couldn't go to the pool


This morning at breakfast
A little about our growing, wiggling, squirming, nine-month-old boy:
-he now has some interest in walking and will walk with the aid of our hands with some encouragement
-still no official crawling, but he makes a mad dash on his belly
-he is a pull-up machine! He pulls himself up like it's what he was born to do it. He's still a little unsteady and likely to fall at any moment, so we are kept on our toes.
-he LOVES his new walker
-he's still totally attached to his dog and lion Wubbanubs
-he is over that nasty double-ear infection (thank the Lord!)
-he HATES medicine now. He knows what those med injector things are and he will resist!
-he is getting blonder by the day. If you put mama's hair next to his, you can really tell. It's a dirty blonde right now.

Monthly photoshoot this morning (one of the few that I have had daddy's help with!):


What else do you do when he won't lie flat?

Update on Ethan's Stats:
Weight: 20 lb 8.8 oz - 67th percentile
Height: 30.5 inches - 99th percentile (!)
Head size: 18.5 inches - 95th percentile
Looks like someone's weight is finally catching up! Woo hoo!


We're also celebrating TWO YEARS of living in back in Houston - we moved into our apartment two years ago today. Crazy how quickly the time has flown by!

xo,
PS - I'm not much one for posting pictures of myself (I don't work out enough, sadly), but here's a fun comparison of 9 months pregnant and 9 months post-pregnancy.

9 months pregnant (39 weeks)
9 months post partum (39 weeks)

Monday, June 23, 2014

backyard patio makeover

There are still 3 major projects on our list (master bath, wood floors, replace some siding) after this backyard makeover. We did it ALL ourselves, and still wish that our contractor/landscaper hadn't screwed up and lost our work order to have the granite installed. It would have been $100 well spent.

How we installed the new patio:

Step 1) Call 811 so you don't accidentally cut of your cable or kill yourself (luckily only one happened, and it wasn't our fault because Comcast should have buried the cable 6" instead of 1")


Step 2) Rip out decking. Have hammers, crow bars, sledge hammers, and big strong arms for this.

The chairs the dog ate.

Step 3) Dig out posts. Have shovels and big strong arms for this.

Step 4) Dig small trench along the back edge for the edging (black stuff). Again, call 811 and don't cut off your cable/internet.

Step 5) Level out dirt, and compact it by walking over it and spraying with water. Leave overnight to dry.


Step 6) Lay your liner out. If you're putting in any pavers, put down paver sand & lay out your pavers. Fill cracks with sand, too. (Sand will compact with water, so watering during installation is ideal.)


Step 7) Pay someone else to put in the decomposed granite. Get upset that your contractor lost your order, be happy they can still deliver the material, and prepare to install it yourself.


Step 8) Person One (A) uses wheelbarrow to bring over granite; Person Two (E) levels it with a hoe or rake, and then uses a tamper to stamp it down. Fill entire area.

Step 9) Repeat. Once you do this twice, fill in the areas that seem low, especially toward the house. Water it down and let it dry so it compacts.

Step 10) Wait one day, then water it again, looking for puddles that indicate low spots. Fill it in there, too.

Step 11) Let dry. Then decorate & ENJOY! (Even when it's wet from a torrential downpour and you wish it wasn't so mushy...)


The yard is almost totally cleaned up!

We also added a little garden area in the back in an attempt to hid the utility area. we think it's cute.

Placement. Red Sisters, Daylillies, and later, Begonias.
That is about twice as much mulch as I needed...
Planted!
We later had to move the Red Sister & Begonias. I thought this area
got less sunlight than it did... I'm trying to save them, and have
transplanted them to the front yard.
New plants.
Red sisters and Begonias now live happily in our shady front yard.
Loving our new little oasis! It is so nice to get to sit outside and enjoy it after over a year (almost year and a half) of avoiding a nasty, overgrown backyard!

Next up: MASTER BATHROOM REMODEL! We are in the process of finalizing our quote and sourcing products, so get ready, because in mid-August, we'll have a GORGEOUS new bathroom, just in time for Ethan's First Birthday Party! We're thinking herringbone wood tile, bronze accents, no tub, walk-in shower, moved toilet, adding a second sink... it's going to be a BIG deal, y'all! To see some of our ideas, visit my master bathroom Pinterest page.

xo,
PS - look for Ethan's nine-month post tomorrow!

Wednesday, May 28, 2014

adventures in tiling

Have you ever had a home project that you were utterly intimidated by? I'm really not sure why I ever thought that tiling the backsplash of our kitchen was a good idea. I never, ever thought I would be the one tiling something in our house, and I don't want to do it again. I think it's a skilled position - even skilled tilers can screw it up, so my inexperienced self could really screw it up.

Pre- that picture falling
When we did our bathroom remodel, we told ourselves that we would put up a backsplash. The wall behind the vanity is concaved because of where the piping is (I don't remember exactly why), so there's a little tiny gap behind the vanity in the center. To keep things clean, I thought we should add a small backsplash. This would also serve to protect our brand-new drywall in there. A month or two ago, we found penny round glass tiles half off/on clearance at Lowe's, and decided to go for it. We paid $10 for the tile, and I already had grout. The grout I have is actually able to be used as the mounting and the grouting... which I'm sure means it's not the best quality, but it's just a backsplash. Right?

Pre-tile
It was really hard to put the grout stuff behind where the faucet is. In retrospect, we should've removed it. I had issues trying to get the tile to "stick" because of that (or getting enough stuff behind the tile).

Pre-grout
Once it had time to dry, I took off the adhesive lining (like a sheet of thick packing tape) that held the tile together. It was nice to have when I was putting the tile up because it made putting the tile up a breeze, but when I pulled it off, it pulled off about 10-15 of the tiles. Not too bad, and probably a plus because I thought of it as identifying weaknesses that I could fix. Better now than in a month when it just falls off, right?

You have to wait 24-36 hours to put the grout in, so since I had waited 18 hours to remove the sticky stuff and had to re-adhere some tiles, I waited another day to add the grout. This part made me nervous because I wasn't sure how pretty I could really make this look, and, with most of my projects, I dove in before doing adequate research.

I tried using one of those tiling tools that's meant to smooth out the grout but after I was sufficiently afraid of scraping the glass tiles, I just got in there with my fingers and wiped the grout across it and worked the grout into the cracks of all those little tiles.

Grouted
Then I took a couple of wet junk towels (should have used a damp, large sponge) and wiped it down, followed by wiping with a couple of dry ones. Tomorrow, when it dries, I'll take another wet towel and wipe down any grout on the tile that I may have missed.


Before:

After:

This project turned out much better than I anticipated. What's next on my list? Painting with a sprayer. I need to paint some exterior wood and some 12-odd doors in our house. I'm also dreading this one so... any volunteers?

xo,
P.S: Check out other guest bathroom posts here.