
The goal was to imitate this pillowcase from The Land of Nod without spending $20. I spent $15 (not including the insert) and I bought way too much fabric, so it is definitely doable with $10. (PS - their entire collection of nautical little boys' bedding is by far the cutest I've seen anywhere!)
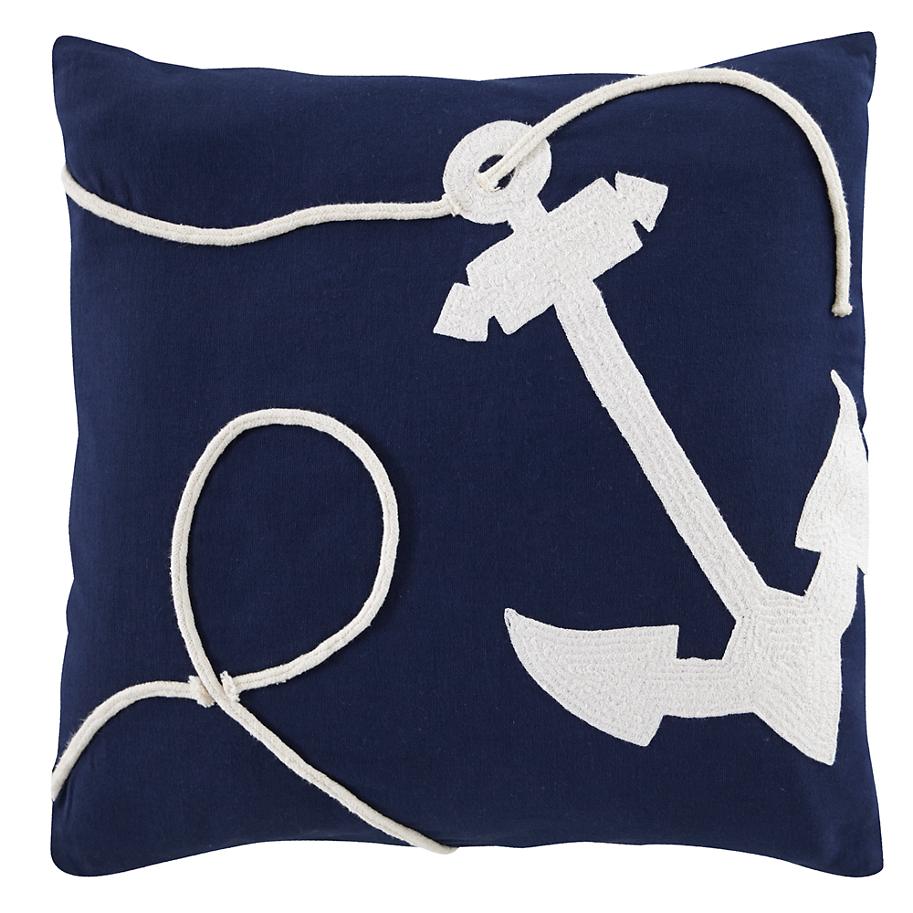 |
| The Land of Nod (I'm fairly sure their rope is NOT round. More on that later) |
- 1/2 yard Wonder Under
- 1/2 yard white fabric (something thick)
- 1 yard navy blue fabric (don't need a yard, but it depends on the size of your pillow)
- Navy thread
- White thread
- 1/2 yard White rope (from ribbon section)
- Fray Check (take your mother's, you don't need that much)
- Printed outline of anchor (I fit the entire anchor on one sheet of printer paper)
- Pillow insert (mine was 16"x16")
- Sewing machine
.JPG) |
| Make sure you get the Wonder Under instructions when they cut it. |
I knew from the beginning I did not want to embroider this, so that's why we opted for iron-on. I also used Fray Check to keep the edges of the anchor from fraying, since I didn't want to have to sew a seam on all those edges.
I washed my fabrics first, then pinned the navy fabric around the pillow. I probably should have left some gaps on the left and right side that I could sew the rope into, since I didn't want the frayed rope edges that the example pillow had.
 |
| I wanted to make a zipper-less case so I made sure my ends met on the back side, and sewed up those seams. |


Once the pillow was done, I ironed my Wonder Under on and traced my anchor, which I could see through the white fabric. If you don't use white fabric, you may want to trace first, then iron. There are specific instructions for this on the instructions sheet.
 |
| Sharpie pen: later, I learned this was a bad idea. Wonder Under is not thick enough. |
 |
| I made notes to myself about my lines as I went, because I knew I would forget which one to use! |
Once it was cut, I laid it out on the pillow. I laid out my rope a little differently than they did (and changed it later):

The rope ended up being a huge pain in the butt for the novice seamstress that I am. I regretted using a round rope entirely. It seems obvious, but it moved a LOT, and then wouldn't line up with where I wanted it to be. I couldn't machine-sew this, so the whole thing was very frustrating.
I ended up just sewing down the crossed part of the loops and the bottom of the loops, as well as the edges and the rope that went under the anchor. I think a semi-loose rope is more realistic (just go with me on this one).
When I ironed on the anchor, I learned two things: 1) Fray Check should be the last thing you use because it is wet and will activate the Wonder Under even if you leave the backing on; 2) don't use a sharpie pen to outline your anchor (it bled through in one part, luckily it was blue and you can't tell). Because the Fray Check activated the Wonder Under, I had to sew the edges of the "T" part of the anchor.
This is what this issue reminded me of:
At 0:12, Pearl says "but you can't really tell, especially when I twirl it like this." Yup, that's this pillow.

The moral of this story? Don't use round rope, Fray Check should be last, the instructions for Wonder Under kind of stink if you aren't doing a basic task, and keep the pillow away from the baby.
All that matters at this point is that I'm happy, the pillow is DONE, and Ethan's bed looks cute!
love,

All that matters at this point is that I'm happy, the pillow is DONE, and Ethan's bed looks cute!
love,

No comments:
Post a Comment